How to Take Your Localhost Site Live
A step-by-step guide to deploying your local development environment to a public URL.
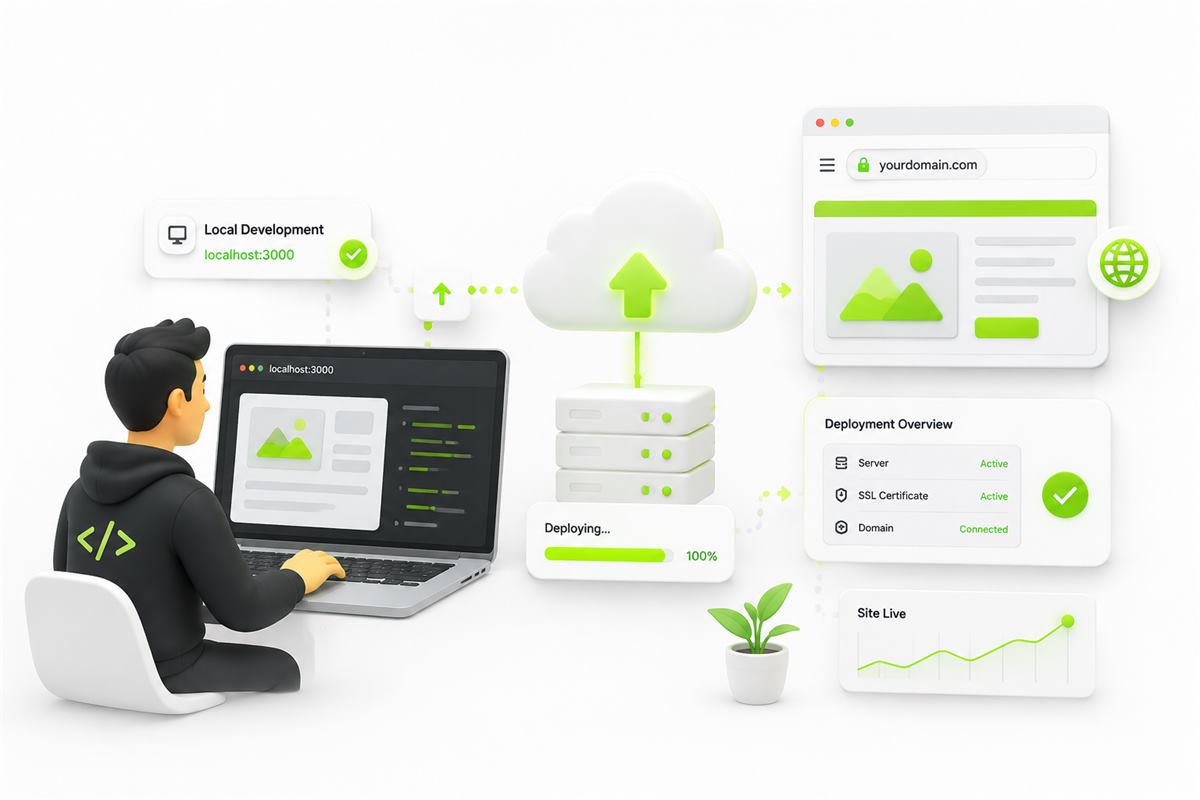
You've spent hours coding, tweaking CSS, and debugging logic. Your app finally looks perfect when you navigate to http://localhost:3000. But there's a problem: nobody else can see it.
Deploying an application for the first time can feel like dark magic. But once you understand the core concepts, it becomes second nature. Here is a definitive, step-by-step guide to taking your site live.
Step 1: The Pre-Flight Checklist
Before your code ever leaves your computer, you need to ensure it's ready for the outside world.
- Environment Variables: Never hardcode API keys or database passwords. Use a
.envfile locally, and ensure you useprocess.env.YOUR_KEYin your code. - Dynamic Ports: In production, your hosting provider assigns a port dynamically. Ensure your server listens properly:
const PORT = process.env.PORT || 3000; app.listen(PORT, () => console.log(`Running on ${PORT}`)); - Build Scripts: If you are using React, Vue, or TypeScript, ensure you have a
"build"script in yourpackage.json.
Step 2: Version Control with Git
Modern deployments rely entirely on Git. Instead of manually uploading ZIP files via FTP (like in 2010), you push your code to GitHub, and the hosting provider pulls it automatically.
First, create a .gitignore file to prevent uploading massive folders like node_modules:
# .gitignore
node_modules/
.env
dist/
.DS_Store
Then, open your terminal and commit your code:
git init
git add .
git commit -m "Initial commit for production"
Create a repository on GitHub, and push your code.
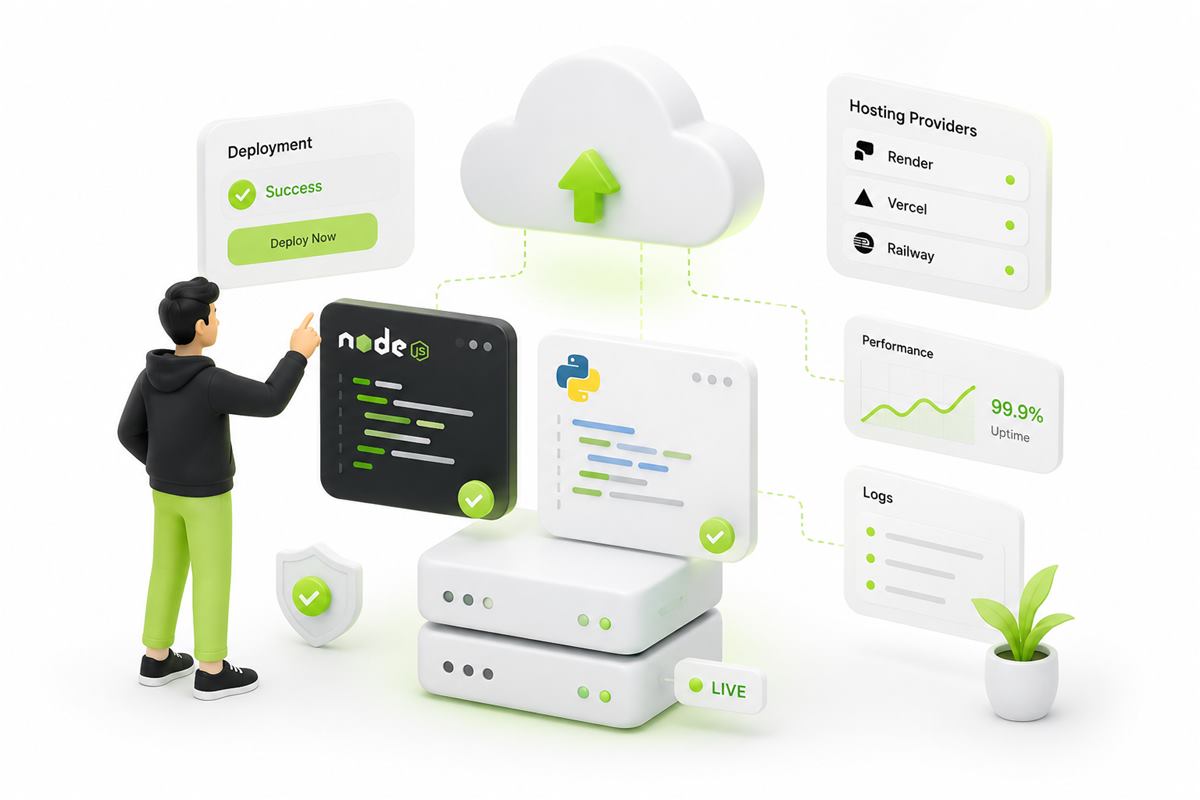
Step 3: Choose Your Deployment Platform
Your choice of platform dictates how easily your app deploys. Based on your tech stack, here's what you should choose:
- Static Frontends (React, Vue, HTML): Use Vercel, Netlify, or Cloudflare Pages.
- Serverless Fullstack (Next.js, Nuxt): Use Vercel or Netlify.
- Traditional Backends (Express, Django, Flask): Use Mapherix, Render, or Railway.
Step 4: Connect and Deploy (CI/CD)
Continuous Integration / Continuous Deployment (CI/CD) sounds complex, but PaaS (Platform as a Service) providers have made it a one-click process.
- Sign in to your chosen provider (e.g., Mapherix).
- Click New Service or Deploy.
- Authorize the platform to access your GitHub account.
- Select your project repository.
- Enter your Environment Variables in the provider's dashboard (remember, they weren't uploaded to GitHub!).
- Click Deploy.
💡 Pro Tip: The platform will read your repository, automatically detect your framework (e.g., Node.js), run
npm install, and start your app. If it fails, always check the Build Logs!
Step 5: Add a Custom Domain (Optional but Recommended)
By default, providers give you a generic URL (like my-cool-app-xyz.mapherix.in). To look professional, you should buy a domain name (from Namecheap, Cloudflare, or GoDaddy) and point it to your app.
You generally need to update two DNS records in your domain registrar's dashboard:
- An A Record pointing to the provider's IP address.
- A CNAME Record for the "www" subdomain.
Once DNS propagates (which can take a few minutes to a few hours), your provider will automatically provision an SSL certificate for you.
Success! 🚀
Congratulations, your site is now live on the public internet! Share the link on Twitter, add it to your portfolio, or launch it on Product Hunt. Happy coding!